A Basic Guide to Contributing on Github
I have a few open source projects that I host using Github. People often have great suggestions to improve the project, and the issues they report constantly shape and help build a better project. Unfortunately there are people who are sometimes reluctant, or unaware of how easy it is to contribute to the project on Github.

I came from a background in Team Foundation Server and Subversion, and it took me a while to adjust when I first starting using Git. If you aren't familiar with a source control system like Git, contributing on Github can seem a bit daunting.
In this article, I am going to run through a step by step guide, and show you how easy it is to contribute to an open source project on Github. It is worth mentioning that there are many Git clients available to work with other than Github, but for the purpose of this article, I am going to run through the official Github clients. If you’ve never used a command line system to commit and store your source code, the Git commands can be a little confusing at first. I’m going to strip it right down and run through an example that doesn’t use the command line at all, which will give you a basic introduction to Git. Once you have a feel for the way that Git works, you can always improve your skills and learn to use the command line.
Getting Started
In order to contribute to a project, you will need to sign up and create a profile on Github. Once you have created your profile, head over to windows.github.com if you have a PC, or mac.github.com if you have a Mac and download the Github software. Once your download is complete, sign in using the credentials that you created on Github.com.
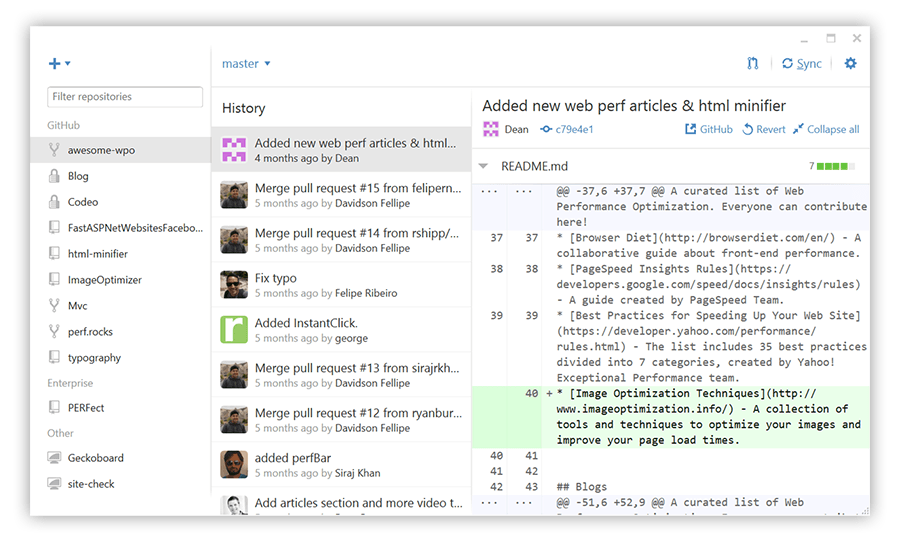
Contributing
Finding projects to contribute to on Github is easy - you can explore trending projects, discover showcased projects, or simply browse for yourself.
Once you have found the project that you wish to contribute to, begin by forking the project on Github.com.
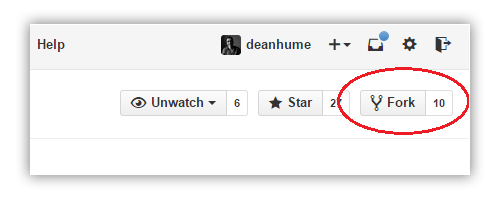
This will create a copy of the original source code. Once the repository has been forked, you can update and change the project as much as you like - any changes will only affect your copy and not the original.
It's time to code! Head to your Github for Windows and click on the blue Plus button in the left hand corner to reveal your repositories already associated to your Github account.
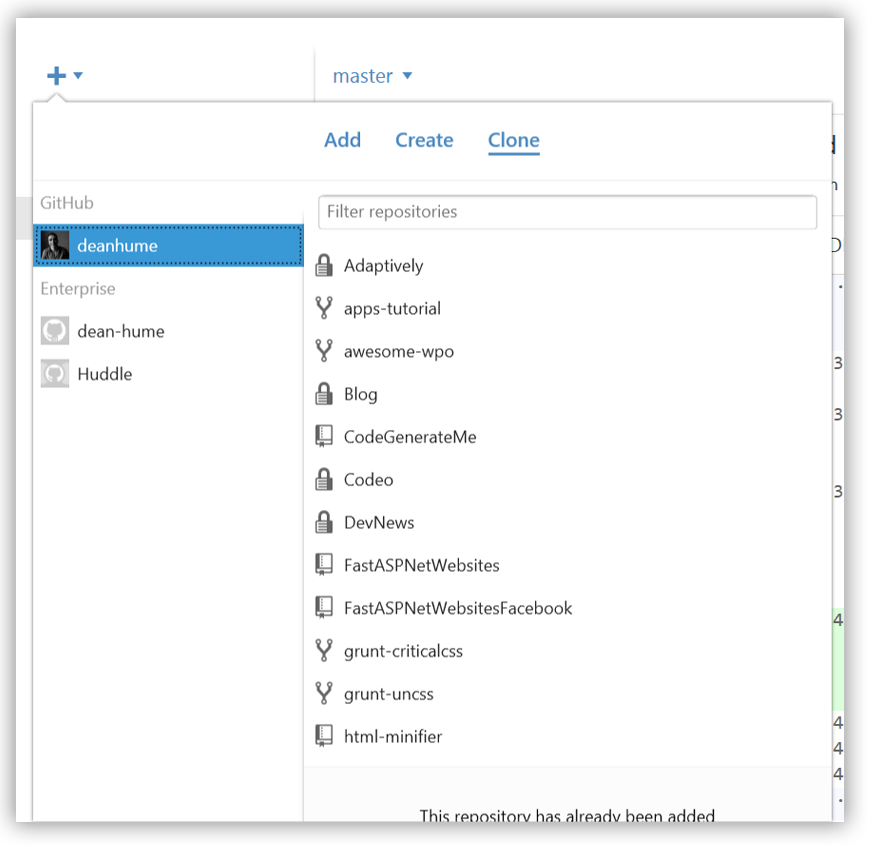
Select Clone and choose the repository that you want to bring onto your computer. Cloning is similar to "checkout" in other source control systems. Once this is complete, you are ready to begin coding. Make the changes to your code and Github for Windows will immediately notice the changes.
Next, you need to commit your changes. Provide a meaningful description of the changes that you’ve made, which will help you identify them later. It's important to remember that commit only saves locally and doesn't affect the repository on Github.com.
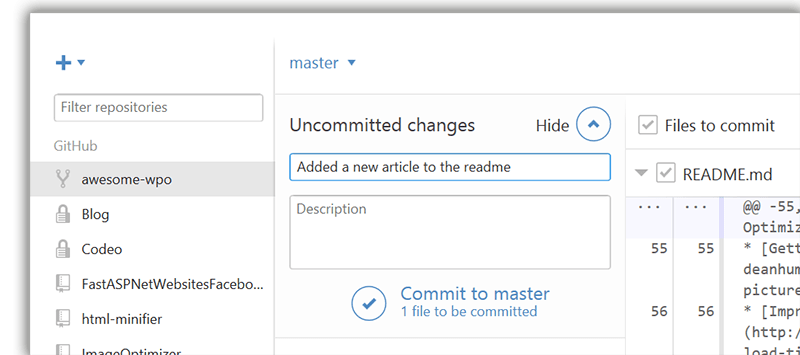
When you feel that you are ready to share your changes to Github.com, click the Sync button in the upper-right corner.
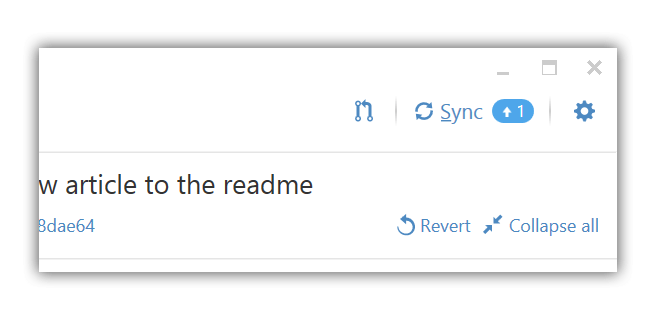
All the changes that you have made to your code have now been pushed to Github against your forked repository. If you’d like to contribute your changes back to the original project, you need to do this by issuing a pull request. This can be done via Github for Windows - click on New Pull Request and enter a description for the request. You should also check that you are creating a pull request to the original repository, by selecting from the drop down.
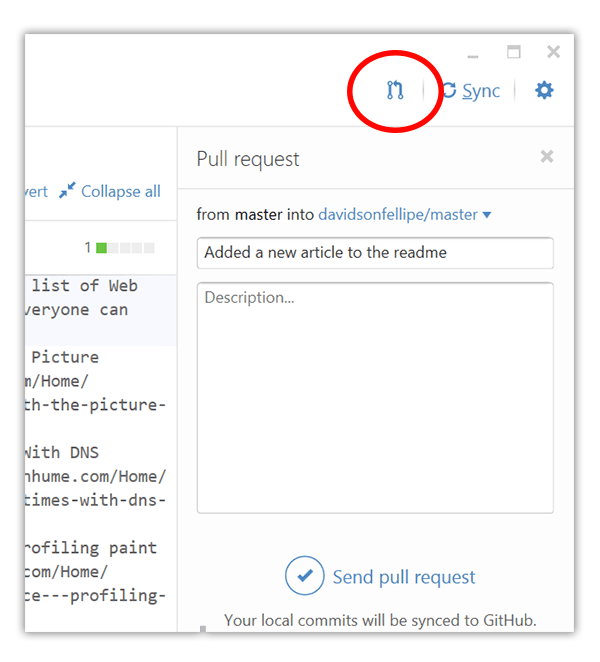
That’s all you need to do. If the project owner is happy with your contribution, they will accept and add it to the project. Congratulations - you’ve just made your first contribution to an open source project!
In the example that we ran through, we used the Github for Windows client. However, Git is such a powerful source control system, and the command line really unlocks most of it’s potential. I recommend advancing to the next level and using the command line to fork, commit, and make your next pull request.
Once you feel comfortable with the way that Github and Git works, there is a great website - try.github.io that has a step by step guide which allows you to follow along in the browser and learn how to use the command line. Happy coding!
