Guide to configuring custom domain names for a Windows Azure website
Creating a new website is easy and super-fast thanks to an intuitive UI on the Windows Azure portal. You can create a new website and be up and running in a matter of minutes. By default, your new site will normally have a host name that looks like yourdomain.azurewebsites.net. While this is handy when you are in development phase, if you intend to share your website and make it more accessible, it is often a requirement that you have a custom domain name.

In this blog post, I am going to run through the steps required to setup your own custom domain name on Windows Azure. It can be a little tricky if you have never setup a custom domain before, but hopefully this guide will help you run through it in no time. I use Gandi to host my domain names, but regardless of your provider, the setup should be similar. Once you have purchased your domain name and your provider has given you the details, you will be ready to begin. Start by logging into the Windows Azure portal. I have created a website and called it devnews, and by default when it is created, it has the URL devnews.azurewebsites.net.
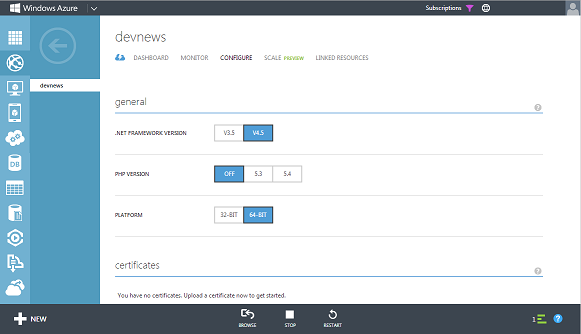
In the Azure portal, navigate to the newly created website and choose "Configure".

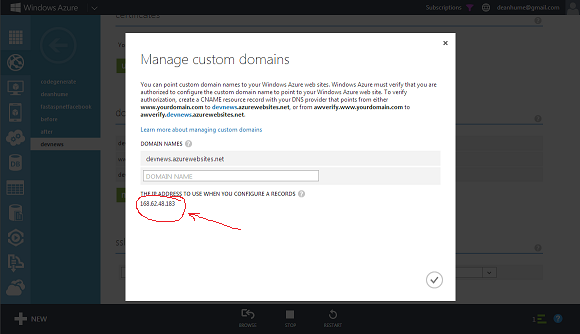
On the page, you will see a section called "domain names". Click on manage and you will be presented with a popup to manage your custom domains.

You will notice that at the bottom the of popup, you are given the IP address to use when you configure your A record. Copy this IP address, because we are going to setup the domain at the provider first.
In order for your custom domain name to work, you will also need to verify that you are authorized to configure the domain name. You need to do this by adding a CNAME record at your provider that points to:
- awverify.www.devnews.io
- awverify.devnews.io
Your records should look similar and point to your own domain. Copy these two values, because we are going to need them when configuring the custom names. Once you have registered and bought your domain name, your provider will provide you with an area to manage the zone file. The zone file contains mappings between domain names and IP addresses. You are going to edit the zone file to get the new domain name to point to your Azure website.
In the case of my domain name, I needed to change the contents of the zone file to look similar to the following details:
- @ 600 IN A 168.62.48.183
- awverify 600 IN CNAME awverify.devnews.azurewebsites.net.
- awverify.www 600 IN CNAME awverify.devnews.azurewebsites.net.
- www 600 IN CNAME devnews.azurewebsites.net.
Notice that the A record points to the Windows Azure IP address that we copied earlier. Also, in order to verify that I own the domain name, I also created two CNAME records for both awverify and awverify.www - I did this so that both www.devnews.io and http://devnews.io both point to the same place. Finally, I added a CNAME entry to point to the name devnews.azurewebsites.net.
After saving and putting the zone file live, you are ready to begin configuring the site on the Azure portal. Depending on the TTL (time to live) of your DNS entries, you may not notice the results immediately. Wait a while until the changes take effect.
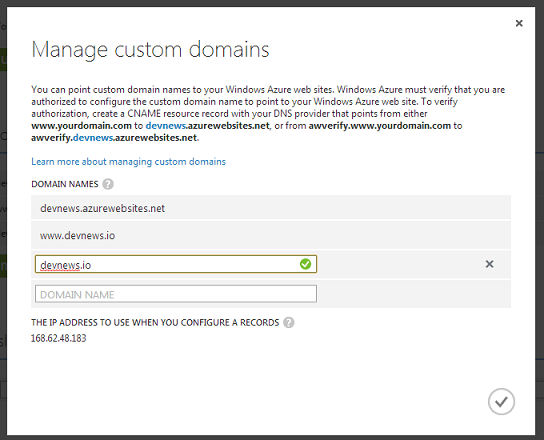
Navigate back to the Azure portal and add your domain name.

The domain name should verify, and you will be presented with a green tick to notify you that it was successful. Again, I added both the www and non-www versions of the domain names to ensure both work when a user navigates to the site.
That's it! When you navigate to the website, you will be presented with the new website.

