How I built a Progressive Beer app

I like beer. In fact, I like it so much that I decided to build a web app that showcases all the amazing different types that are out there! I've called it Progressive Beer.
I've been experimenting a lot with Service Workers lately, and building a web application with this technology in mind seemed like a perfect fit.
Application Shell Architecture
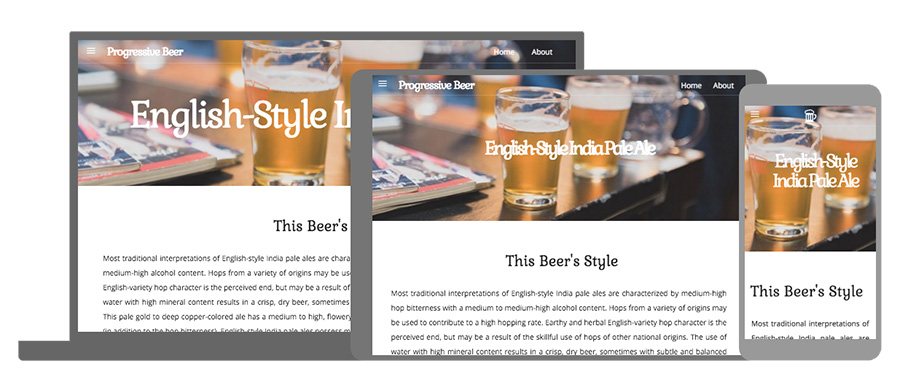
When I set out to build this app, I wanted to build it as a Progressive Web App using an application shell architecture. I haven't had much experience developing web applications using this architecture, and given the nature of the application, it seemed like a perfect side project to implement this. The best part about using an application shell architecture is that it lets you cache the 'shell' of your web page and then dynamically inject in the contents. This means that you can cache the 'shell' and render something for the user immediately.
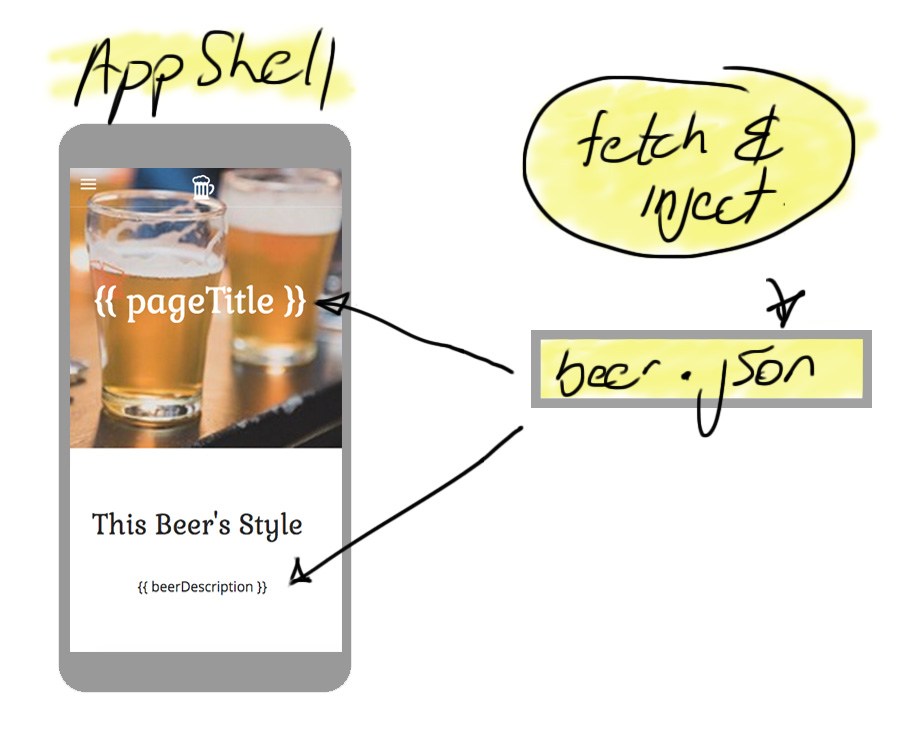
Even if the user has only visited your site once, they will at least have a cached 'shell'. For any parts of your site that they might not have visited (and cached yet), we simply go and fetch that fresh content. This meant that I could use a simple HTML page for the shell of my site, and that the main contents of the page would need to be dynamically injected in using JavaScript.
This approach will still work in the same way for browsers that don't support Service Workers, they just won't receive the added bonus of super-fast performance.
The Data
Before I started, I needed to find as much information as I could about the different beers around the world. Fortunately, brewerydb.com already has all this information! BreweryDB is a database of breweries, beers, events and guilds around the world. There is a vast amount of information and it can all be accessed via their API.
![]()
They have a free API version which is limited by the number of API requests you can make, but it seemed perfect for my needs. If you prefer to make more API requests or need more info, there is also a paid version that you can upgrade to.
Service Worker Magic
As I built this web app with performance in mind, I wanted to take full advantage of the power of Service Workers. Once the basic application was built, I needed to get some Service Worker caching in place. I find the easiest way to get started with caching is to use the Service Worker Toolbox.

It provides you with some simple helpers to get you started creating your own Service Workers. If you need to use a certain caching strategy, the toolbox has you covered.
Once the library has been set up, I can start caching specific requests using code similar to below:
The code above checks for any requests that match the incoming route and then caches it using a cache first approach. If you'd like to learn more about the Service Worker Toolbox, I've previously written about it on this blog.
Offline Support
The best part about Service Worker caching is that we are able to access objects stored in cache even when the user is offline. With just a few lines of code, I can detect if the user is trying to navigate to another page while offline and simply retrieve the associated assets from the cache as I need them.
In the code above, I am tapping into the fetch event and checking if the user is trying to navigate to another page. If they are, and we get an error when they try to do so, I then check if that resource exists in cache and if so, I return it to the user.
You might also notice that there is a function called getFilenameFromUrl(). Throughout the web app, I use querystrings to determine what beer and style to retrieve. I don't want cache a different instance of each page with the querystring - I need to strip it away when accessing from cache. Remember that I am dynamically injecting the contents into the shell, which means I should already have the shell cached - I just need to fetch the dynamic content.
Offline Google Analytics
Now that the web app has support for offline web pages, I didn't want to miss out on any analytical insights coming from usage that occurs while a user might be offline. For this app, I used the brilliant sw-offline-google-analytics library that handled all of the hard work for me.
![]()
The library ignores non-Google Analytics requests and will first attempt to fulfill the request against the network. If the user is offline, it will then queue the requests. Each time your Service Worker starts up again, the library will check for queued requests and attempt to resend them - very cool stuff!
Installation is quick, and using the npm package, all that you need to do is include the following lines of code before any other 'fetch' event handlers are defined:
With just a few lines of code, you will be capturing your Google Analytics requests regardless of whether the user is online or offline.
Notifying the User
I'll be the first to admit that I suck when it comes to web design and CSS. That's why I often choose to use pre-rolled libraries such a Material Design Lite for a new website. The component library is great because it is cross-browser and cross-OS by default. It also includes a load of reusable components to get my projects started quickly.
In order to notify the user that their page will be available offline, I wanted to use toast notifications that are built into the Material Design Lite library. This is where things get a little hairy.
Whew! That is a lot of code - but once we break it down it should make more sense. While building this app, I learnt that you can actually access the Cache storage outside of a Service Worker. In the code above, I am opening the cache that contains my beer data. Next, I'm checking if the beer data that I need exists in cache and if it does, I then display a toast notification. Once I've notified the user that the assets for the page have been saved, I'm simply using localStorage to ensure that I don't need to notify them again.
Progressive Web Apps and Service Workers are just beginning to take off, and it will be great when this sort of functionality becomes the default for our users. We shouldn't have to let our users know a page is available offline - they should automatically expect it!
Creating the Manifest file
In order for this app to be a truly progressive web application, I needed to include a manifest file. If you aren't familiar with them, manifest files are simple JSON files that allow you to control how your web app appears to the user.
You can manually create your own manifest files, but because I am a bit of a lazy developer I went down the route of using a manifest generator. There are a few great versions out there, but my personal favourite is available at tomitm.github.io/appmanifest
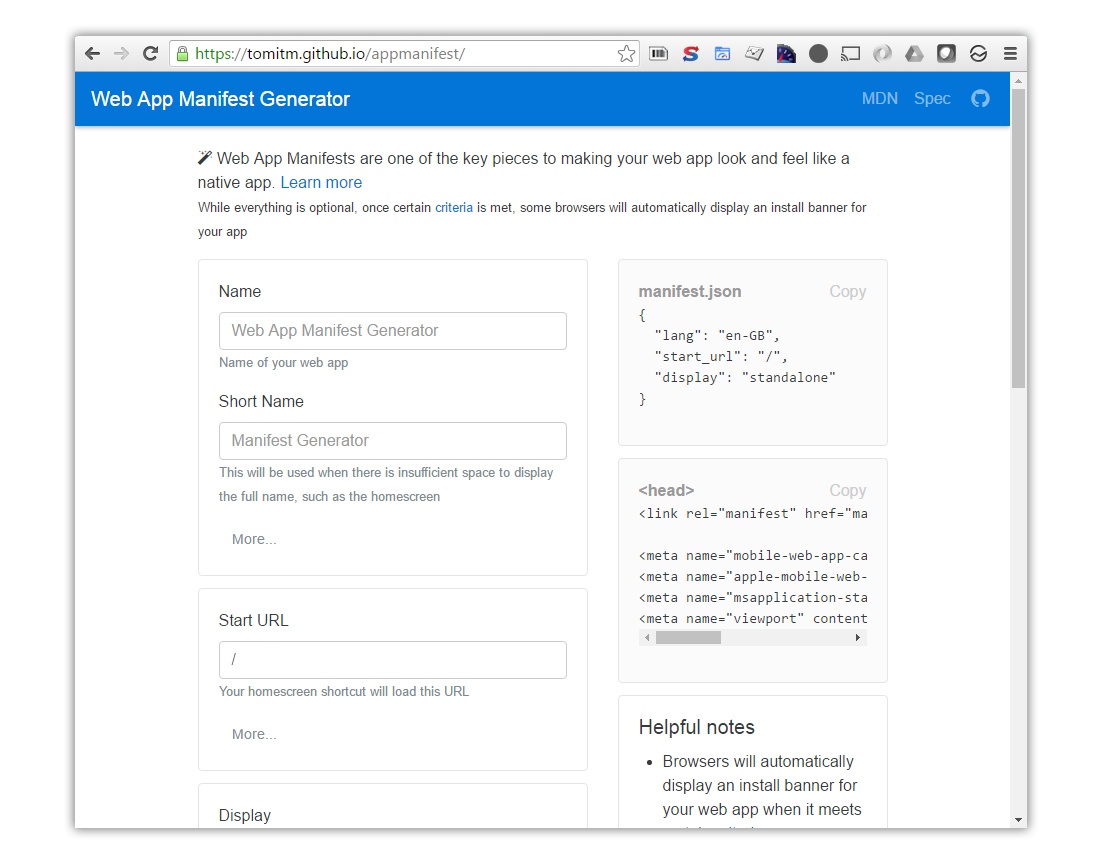
Simply enter your details and the web app manifest generator will do the rest for you. Once you have a manifest file in place, under the right conditions, you will be prompted with a splash screen and app install banners with no extra effort!
Github Pages
Progressive Beer is a simple little application and I didn't need anything fancy to host it. I am storing the code in a Github repo, and it only made sense to use Github Pages to host the site too. I found it really easy to get started and you simply host directly from your GitHub repository - edit, push, and your changes are live. Github pages also absolutely free and worked perfectly for my needs.
Service Workers require HTTPS in order to run, and the great thing about using Github Pages is that you can simply enable this at the flick of a button.
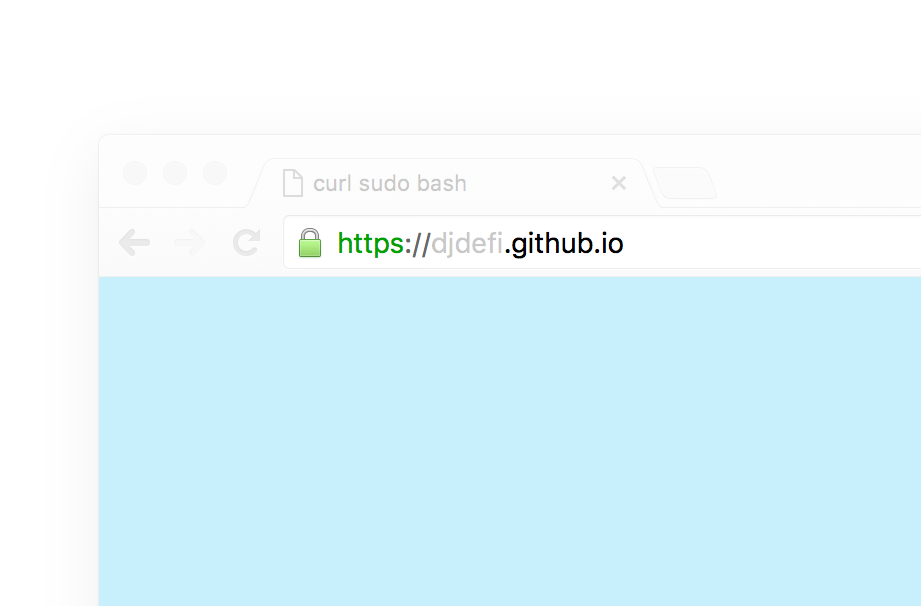
In order to enable this, choose your repository, head over to settings and select Enforce HTTPS.
WebP images
I want this web app to be lightweight and super fast for the user which means I need to focus on saving precious kilobytes everywhere I can! WebP images can be a great way to reduce the size of images served from a website. WebP is an image format that provides lossless and lossy compression for images on the web. This means that the image sizes are around 25 - 35% smaller than their original equivalent, which makes them perfect for the web. Unfortunately they are only currently supported in Chrome, Opera, Chrome for iOS & Android, and Opera Mini (Safari is on the way hopefully!) so you need to be selective in how you serve them.
I've previously blogged about a sneaky technique that uses Service Workers to dynamically return WebP images. If the browser doesn't support them, the Service Worker will simply serve the original image. I've used this approach on the website and it seems to be working nicely.
Summary
The site is live and ready for you to explore! Please 'hop' on over to deanhume.github.io/beer to check it out. Hop...see what I did there? Sometimes I barley even get these puns myself!
Let me know what you think - I would love your feedback. Have a look at the source code, too!