Running Selenium Tests using Node.js

Browser automation is a great way to automate and test repeatable tasks in the browser. I've always been interested in browser automation and testing using tools such as Selenium. If you are looking for a way to ensure that your website runs as expected in many different browsers and devices, then browser automation is for you!
Most of the articles that I have written about browser automation involve running Selenium in a .NET environment, but there are other great ways of doing this too. Using Selenium together with Node.js is just as easy. There are a number of npm packages that you can use with Selenium, but I have found that Webdriver.io is a great open source testing tool for Node.js.

Writing tests in JavaScript takes little time to get up to speed and I like the way that the code looks concise and easy to read. To get started with Selenium and Node.js, head over to the SeleniumHQ website and download the latest version of the Selenium Standalone Server.
Next, start Selenium Standalone Server using Java. If you don't already have Java installed on your machine head over to the Java website. Fire up the Selenium Standalone Server using your console with the following code:
$ java -jar selenium-server-standalone-2.43.1.jar
Next open your Node terminal window and download Webdriver.io by running the following command:
$ npm install webdriverio
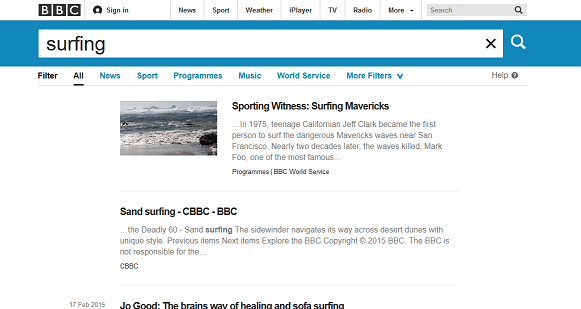
Now that your environment is ready, create a test file with the test cases that you would like to run. In the example below, I am going to use Selenium and Node to navigate to the BBC home page using Firefox, enter a search value, and check that the title of the webpage is what I expect. I also want to output a screenshot of the web page to disk.
In order to run the test above, open your Node terminal and run the following command:
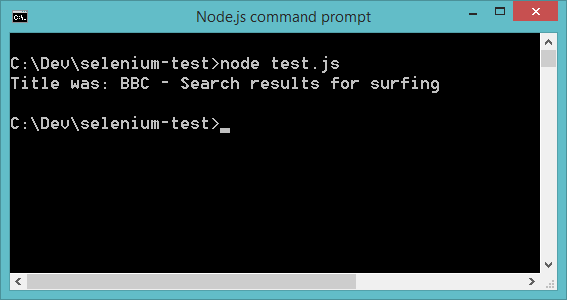
$ node test.js
Once it runs, you should see a little something like the screen below.
The code above will also save a screenshot to disk that will look similar to the screen below.
And that's it! If you are familiar with the Webdriver API, the transition to Webdriver.io is pretty smooth. If you would like to know more, have a look at the documentation on the Webdriver.io website.
If you prefer to use Grunt or Gulp as part of your development workflow, there are useful plugins available on the Webdriver.io site.