Testing Service Workers locally with self signed certificates

Service workers are awesome. They provide us with powerful functionality to intercept and handle network requests, cache resources, send useful push notifications and so much more. Because service workers have this ability to intercept network requests, it’s essential that they run over HTTPS. In the wrong hands, a malicious developer could do some nasty things!
Service workers need to run over HTTPS to ensure that the web page hasn’t been tampered with during its journey through the network. If you are developing and testing your service worker code locally before deploying to a live server, you can easily test it without any certificates on your localhost.
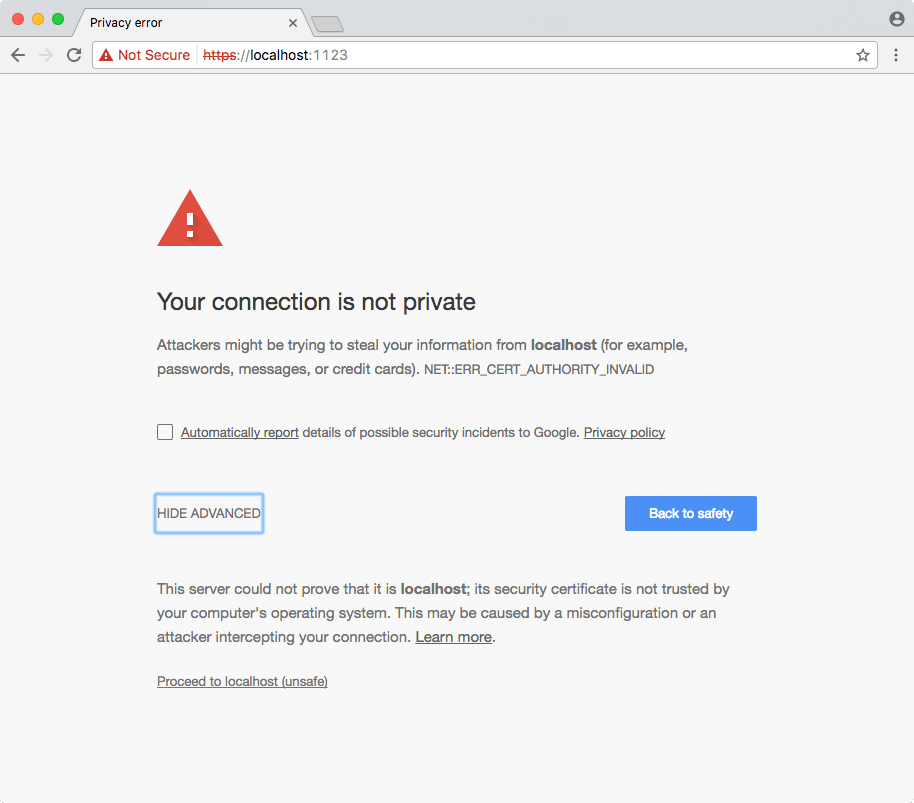
Recently, I’ve been developing a Node.js application that uses both service workers and HTTP/2. In the same way that service workers require HTTPS, so do some instances of HTTP/2. This means that when I’m working locally, I need to use self signed certificates. These self signed certificates are just fake ones that are used for testing, but it does mean that when I navigate to the site locally, I see the following warning message.
When I’m testing locally, this isn’t really a problem for HTTP/2 because I can just ignore the warnings and skip to the next page. However, my service worker will no longer register! If I open up the developer tools, I see an error similar to the image below.

In the console of the developer tools, I see the error “DOMException: Failed to register a ServiceWorker: An SSL certificate error occurred when fetching the script”. This acts as a safety net in order to ensure that the certificates are safe, but it makes it a bit harder to test locally. In order to ensure that my development workflow is seamless both locally and when it is deployed, I needed to get this working!
Fortunately there is a way around this. Google’s Chrome has a setting that allows you to override this for a given domain. I wouldn’t recommend running this all the time, but it can be helpful for when you are testing locally with self signed certificates.
In order to start a new instance of Google Chrome, you will need to open it with a few flags enabled. In your terminal, run the following command (you will want to replace localhost:1123 with your own).
/Applications/Google\ Chrome.app/Contents/MacOS/Google\ Chrome --user-data-dir=/tmp/foo --ignore-certificate-errors --unsafely-treat-insecure-origin-as-secure=https://localhost:1123
The command above will open up a new instance of Google Chrome and unsafely treat your chosen origin as secure. You also won’t see any warning errors anymore and your service worker will register. You wouldn’t want to use this all of the time, but it is perfect for testing.
If you are on a Windows machine, you’ll need fire up your command prompt and replace the path to point your Chrome installation, which might be something like:
C:\Program Files (x86)\Google\Chrome\Application\chrome.exe --ignore-certificate-errors --unsafely-treat-insecure-origin-as-secure=https://localhost:1123
I hope this was helpful for you, as it took me a while to figure this out!