MVC 3 and Remote Validation

I must admit, I've been a bit of a slow starter when it comes to Asp.net MVC 3. I am an avid fan of MVC 2 and haven't really taken the time to look at MVC 3 until now. Wow - I am impressed though! There are a load of new features that have been added and it just feels like it is getting better and better.

While I was browsing the ASP.NET MVC 3 Home page and reading through the feature list, one of the things that caught my eye was the new Remote Validation support that has been added. Remote Validation is the ability to call a custom server-side validation method via the client-side. This is very handy if you want real time validation without posting your form to validate the fields and see the results.
One very useful real world example where you could apply Remote Validation, is the ability to check if a Username already exists when registering a user. Another example could also be checking if a password meets a certain complexity requirement.
Let's take a look at the example of checking if a username exists.
Firstly create the Model that we are going to use and validate. You need to add the RemoteAttribute above the UserName field. The parameters that are passed in are the ActionName and the Controller Name. This is where our custom validation method is going to reside.

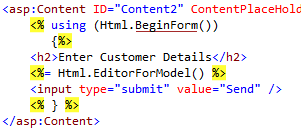
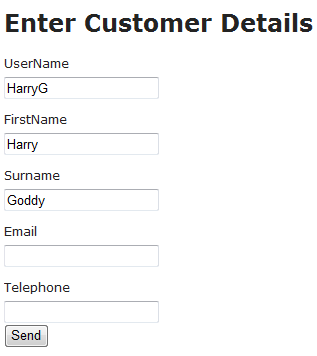
Then add the View that you would like to validate.
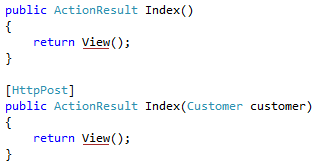
And the code in your controller.
NOTE: The validation won't work if OutputCache has been added, this is because we need to check the user's input dynamically.
Next we need to add the method that is going to validate the field. As good practice it is better to split the validation onto another Validation Controller. You could always have your validation on the same controller as the View - it's also a matter of preference.

Finally, in the Master page (or simply the View), you need to add the JavaScript references to :

That's it - fire up your application and test with some values. If the username has already been taken you should notice a View similar to the following:

Else the username has not been taken and you will notice something like this:
If you view the source on the page, you should also notice that there are some attributes that have been auto-generated and added to the textbox. The remote URL is also visible and that is the Action and Controller that we are using to validate the username.

As you might have noticed, it's really easy to add custom validation with the new features that have been added to MVC 3, so get out there and get playing!